ESIS

2.2. Managing a School Profile

2.2.1. Editing School Information

2.2.1.1. General Information

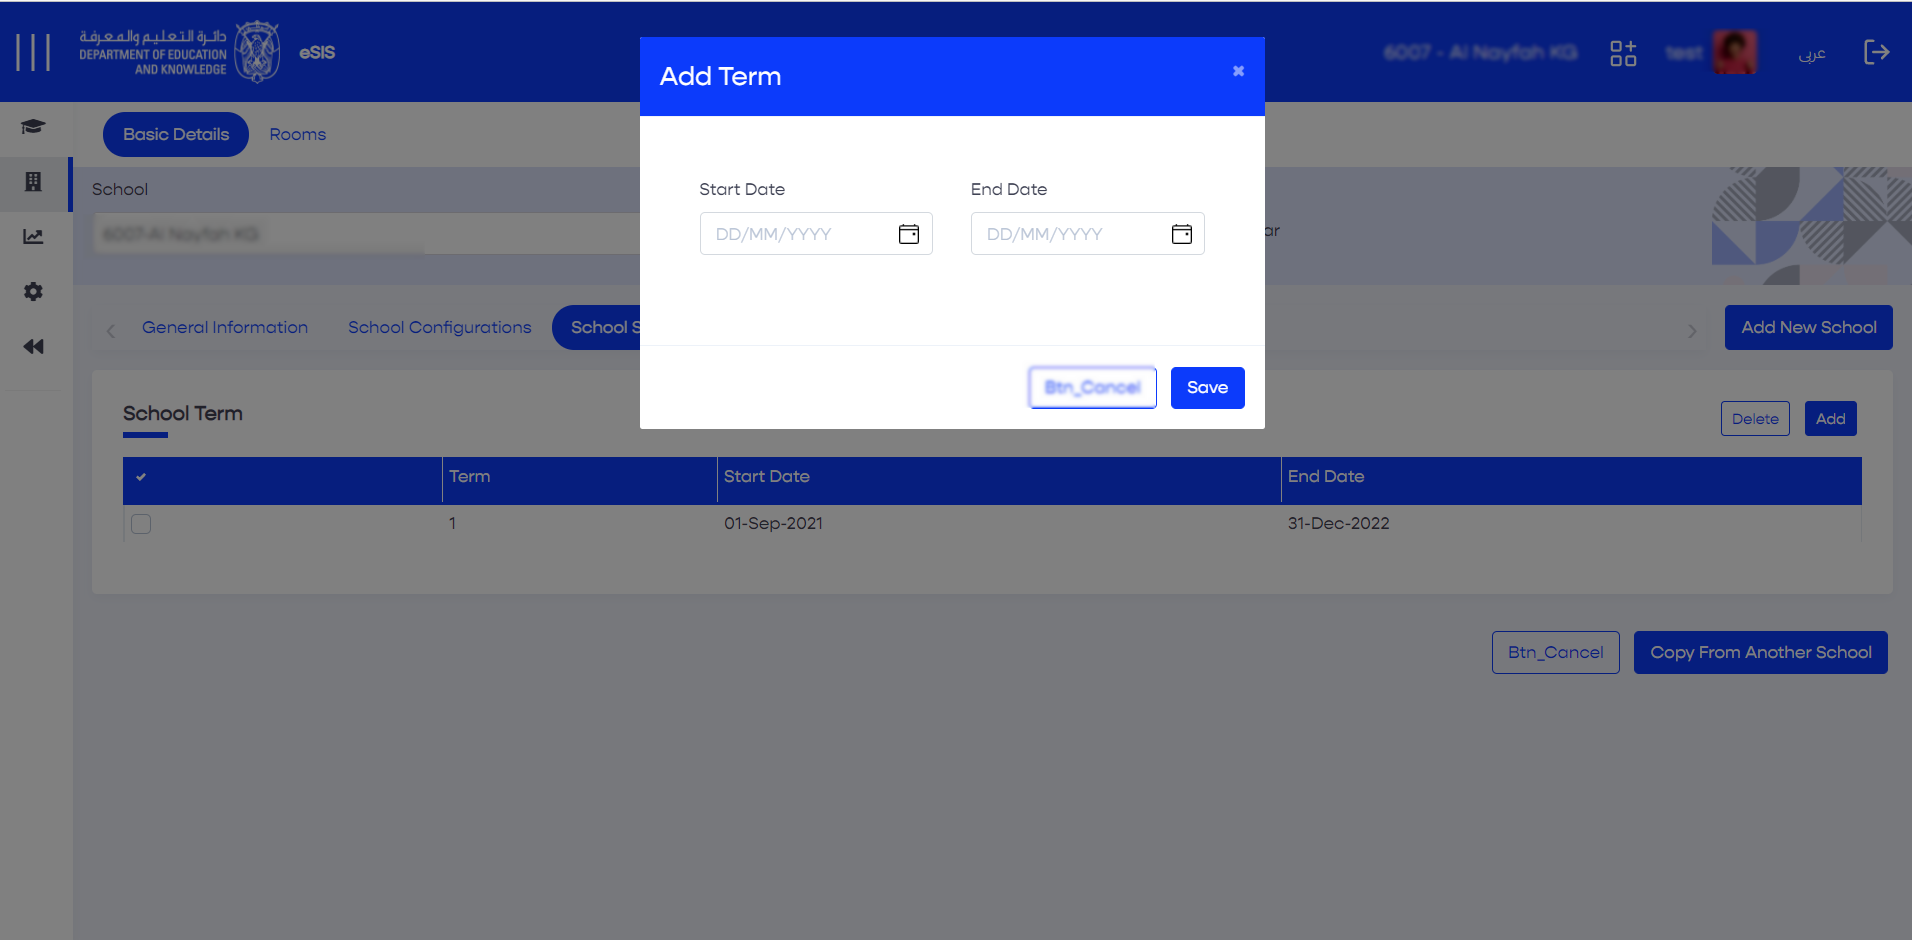
This tab provides access to school details such as school name, contact details, address, and other attributes related to registrars and curricula:


  1. Sign in to eSIS.
  2. From the left-side menu, select "Schools".
  3. Expand the menu under "Schools" and click on "School Details".
  4. Choose the target school from the list of schools.
  5. Navigate to the "School General Information" tab.
  6. Make the necessary changes.
  7. Click on "Save" to save the changes.
2.2.1.1.1. History Log

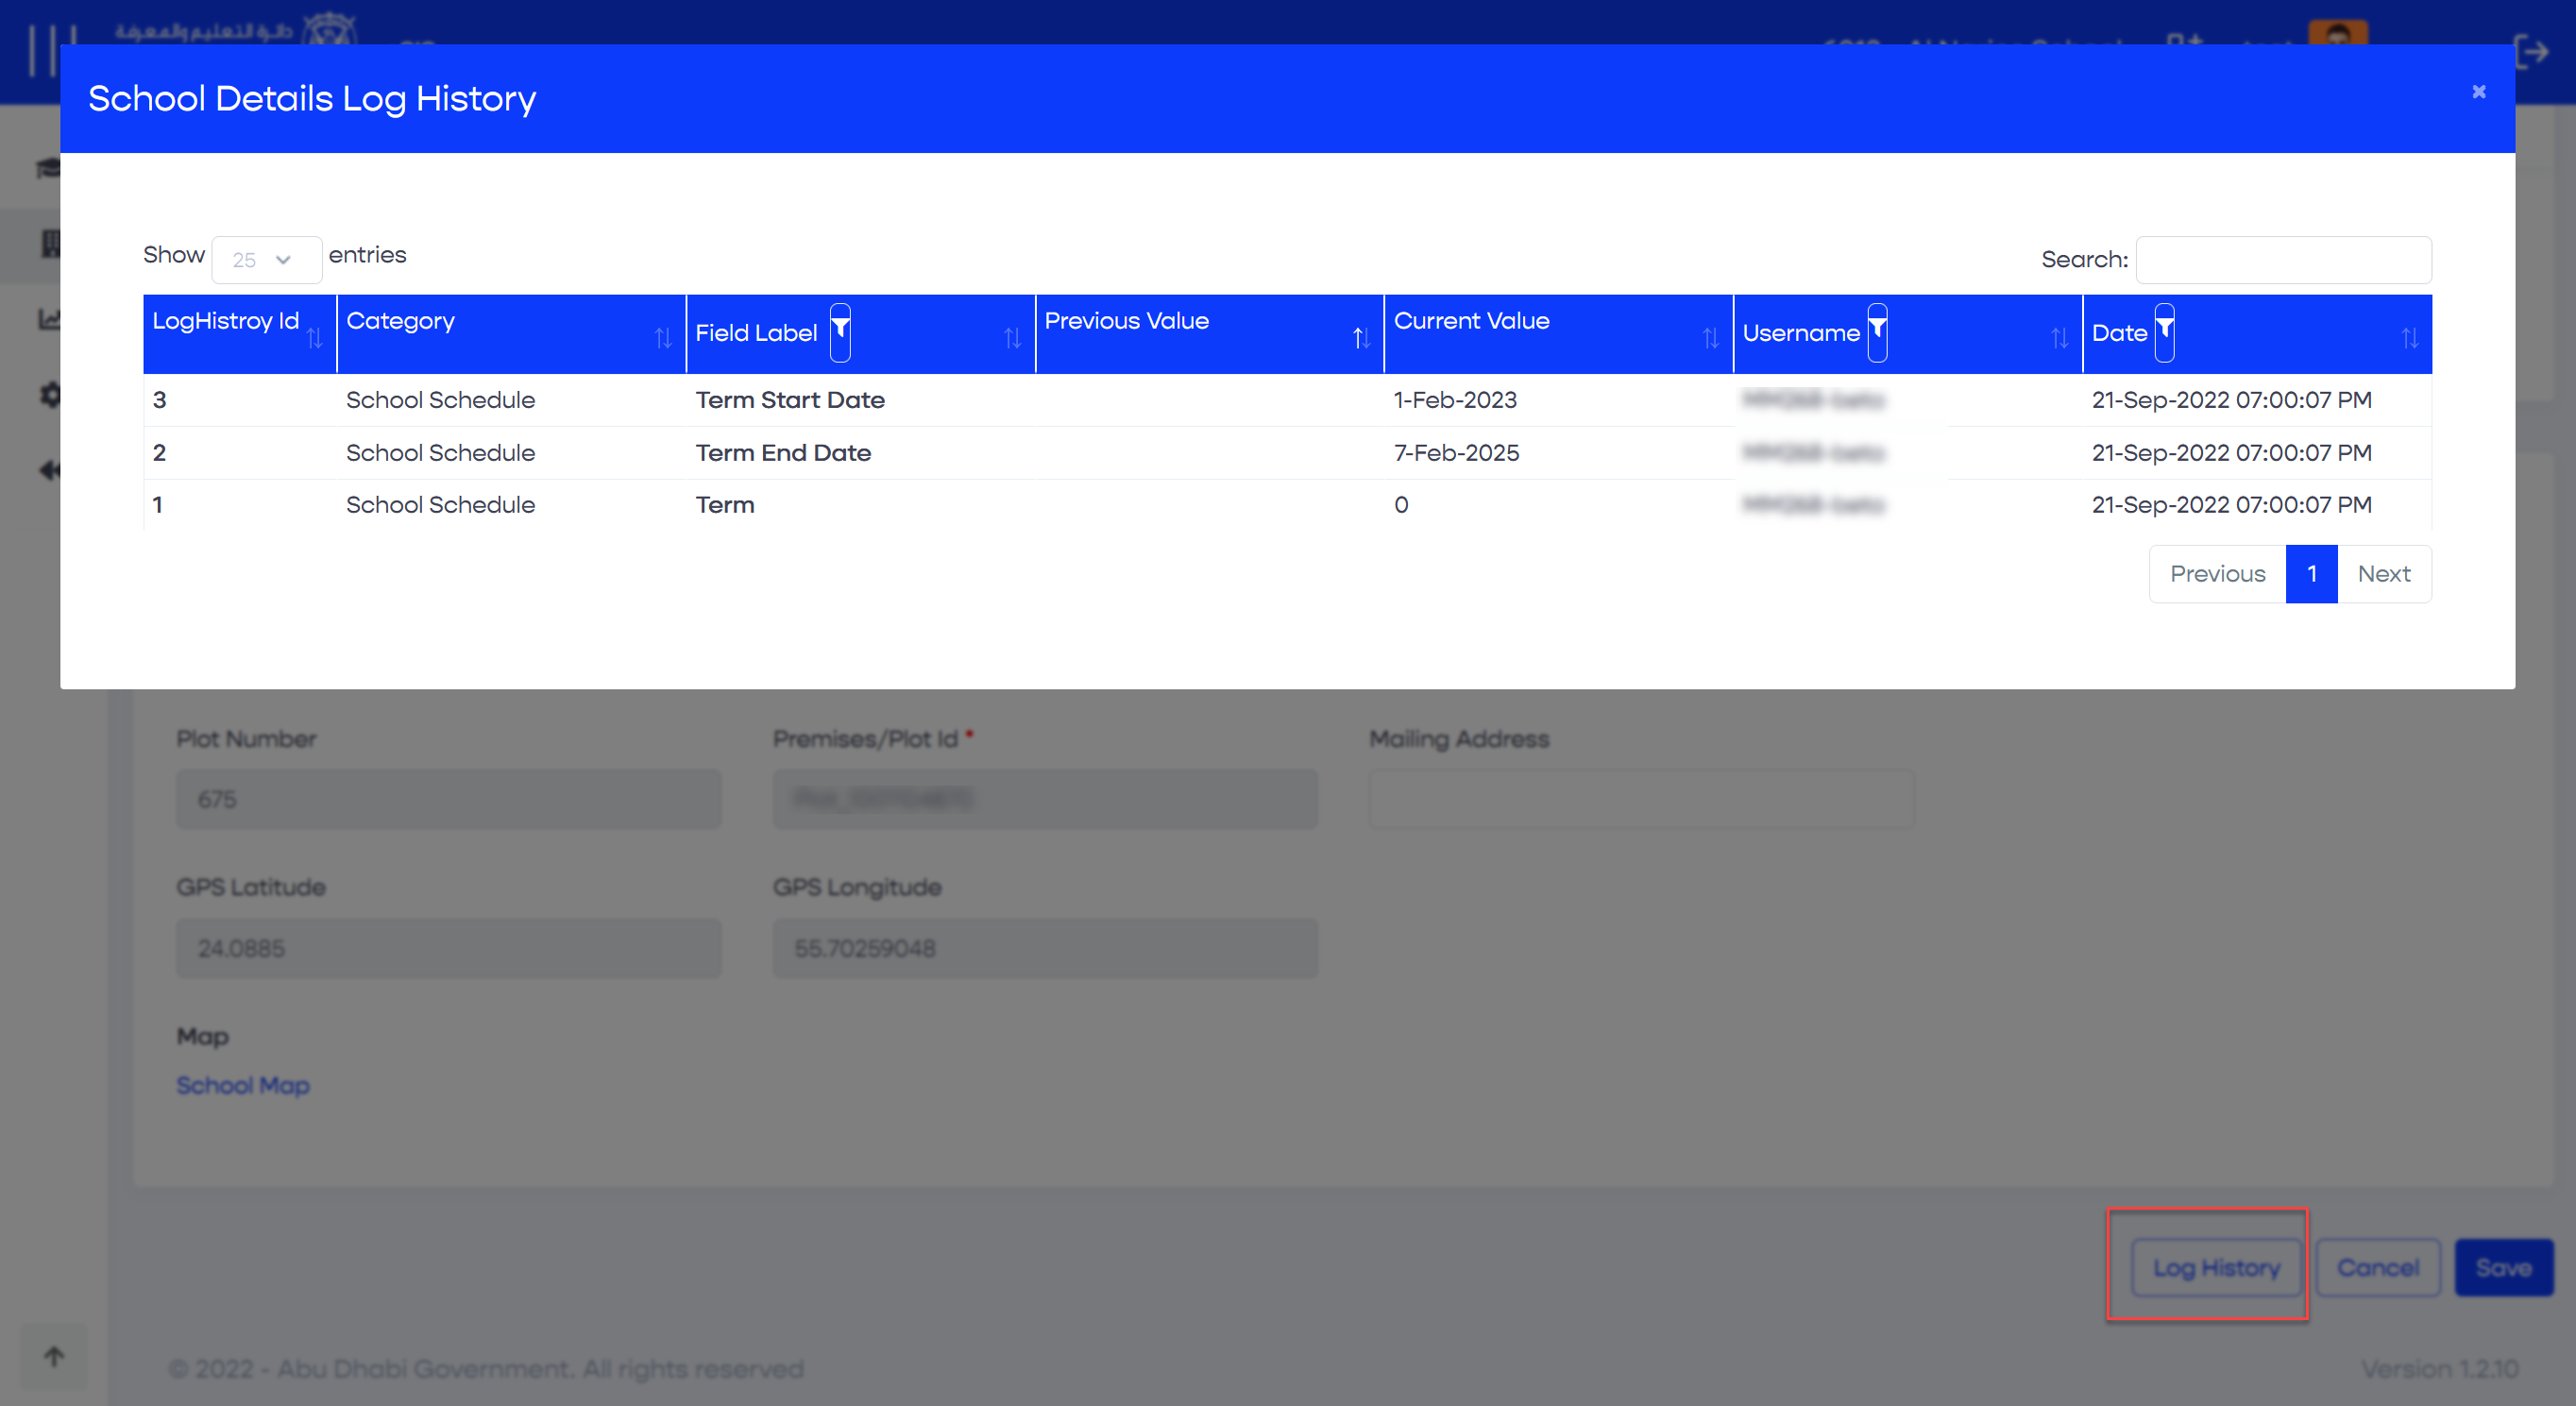
Within this popup, you will have the ability to view all transactions performed related to the school's basic information. It displays the following details:


  1. Action date
  2. Action username
  3. Updated field (previous and new value)

2.2.1.2. School Configurations

2.2.1.2.1. Defining the Academic Year
  1. Sign in to eSIS.
  2. From the left-side menu, select "Schools".
  3. Expand the menu under "Schools" and click on "School Details".
  4. Choose the target school from the list of schools.
  5. Navigate to the "School Configurations" tab.
  6. Go to the "Registration" section.
  7. Click on the current academic year to define the existing year or click "Next" to define the next academic year.
  8. Click on "Save" to save the changes.
2.2.1.2.2. Defining Capacity
  1. Sign in to eSIS.
  2. From the left-side menu, select "Schools".
  3. Expand the menu under "Schools" and click on "School Details".
  4. Choose the target school from the list of schools.
  5. Navigate to the "School Configurations" tab.
  6. Go to the "Capacity" section.
  7. Make the required changes.
  8. Click the "Save" button.


Admin users can update the licensed capacity and the maximum number of homerooms when checking the "Current Academic Year". School users can view this information as read-only.

Info


Students admitted to the Autism Resource Base (ARB) will be excluded from the school capacity counter.

2.2.1.3. Defining Timeframes

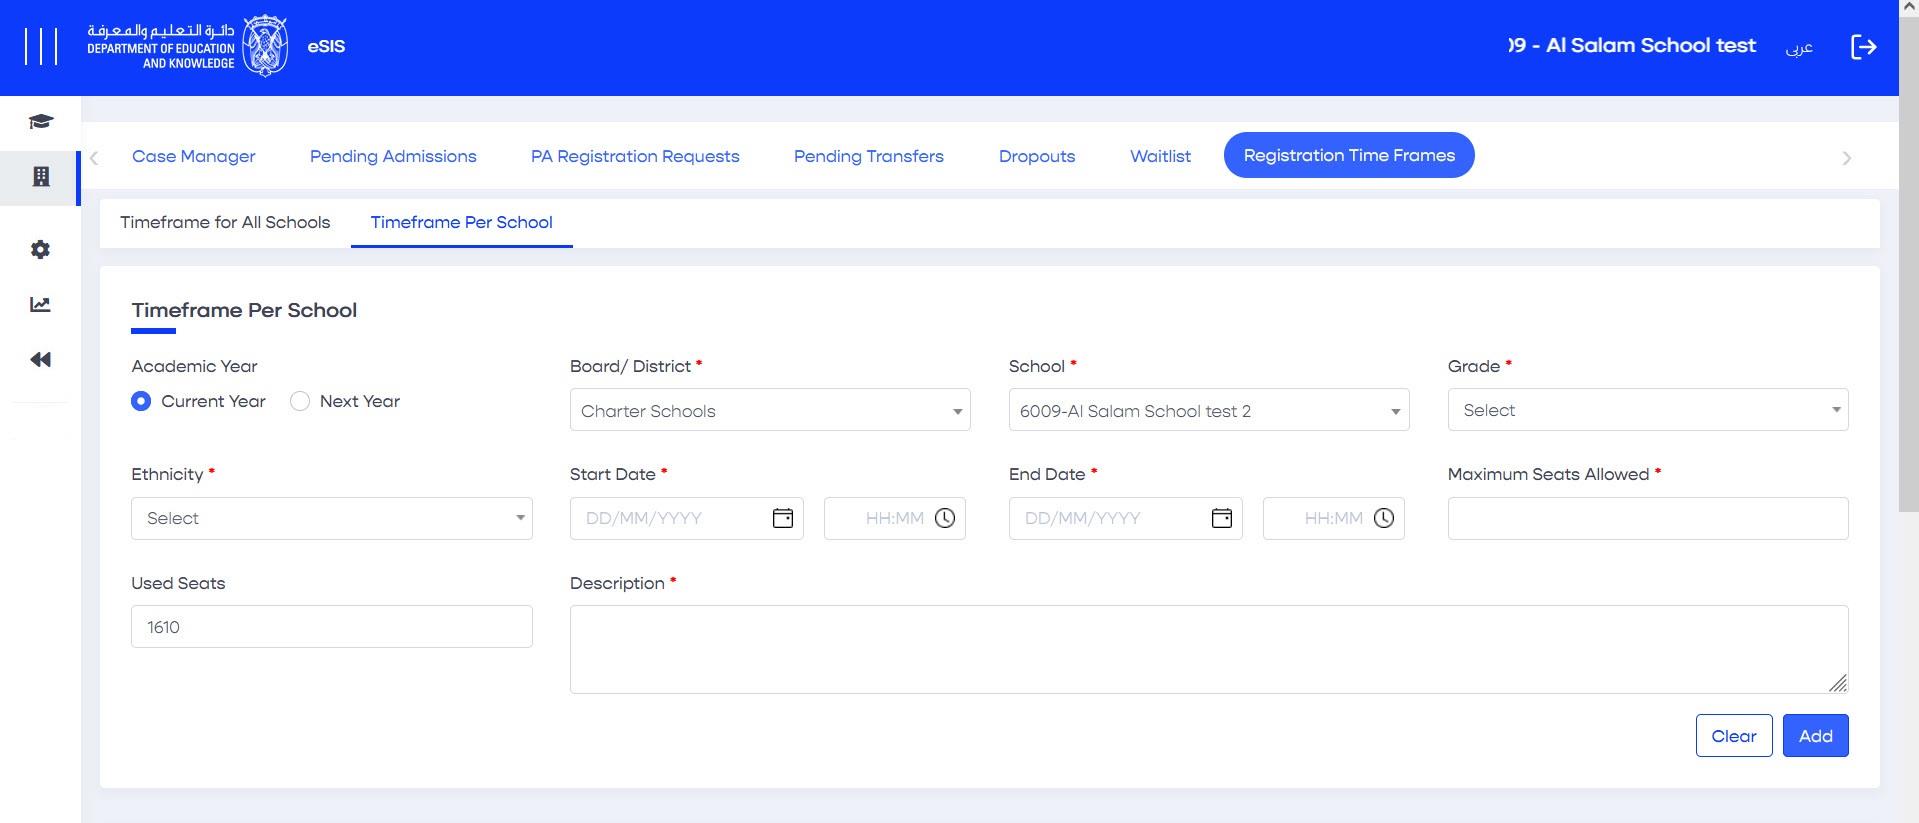
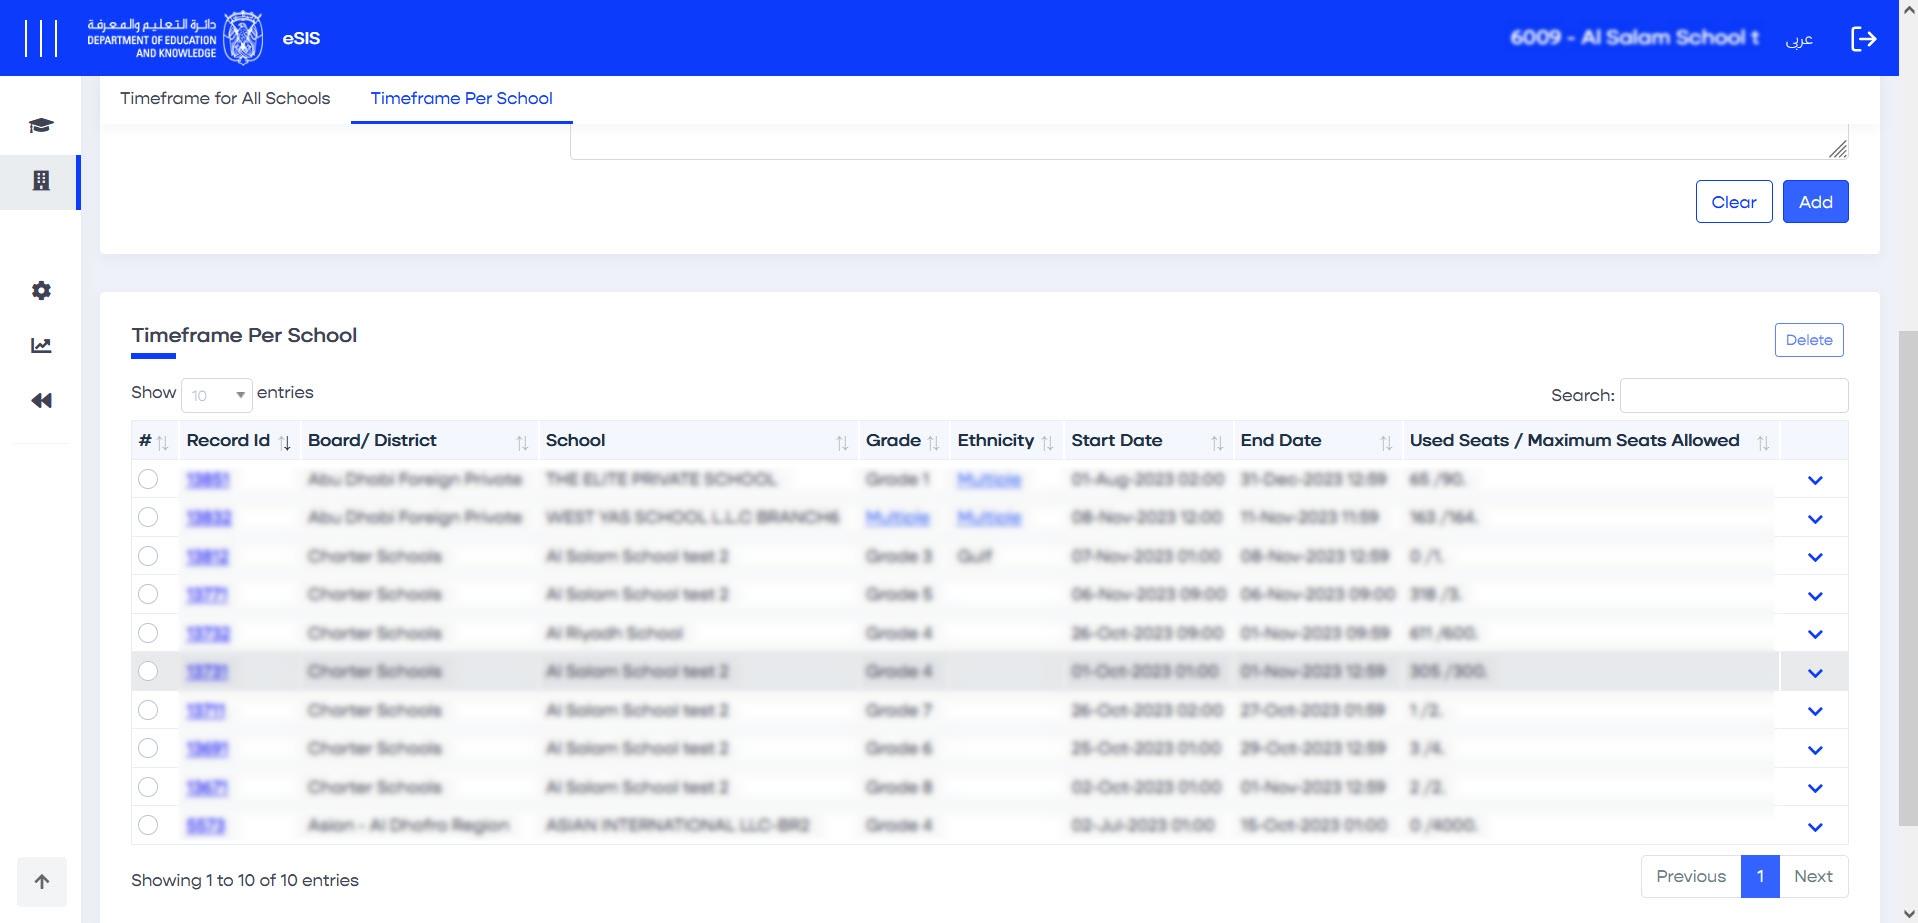
As a system administrator, you have the authority to manage the registration time frames for educational districts. This feature allows you to set the open and closed registration periods on a wide scale for both the current and next academic years. This capability ensures efficient and coordinated registration processes across different districts:


  1. Sign in to eSIS.
  2. From the left-side menu, select "Schools".
  3. Select "Enrollment" and then click on "Registration Time frames". 
  4. Choose the academic year you want (current or next). 
  5. Fill in the necessary timeframe information. 
  6. Use checkboxes to indicate where this timeframe should apply. 
  7. Click "Add" to save the new timeframe and publish it.

Info


If you try to register a student out of the timeframe, the system will give you an error message. 

2.2.1.4. Defining the School Schedule

2.2.1.4.1. Adding a New Term
  1. Sign in to eSIS.
  2. From the left-side menu, select "Schools".
  3. Expand the menu under "Schools" and click on "School Details".
  4. Choose your school from the list.
  5. Navigate to the "School Schedule" section.
  6. Click on "Add" in the top-right corner.
  7. Define the start and end date for the schedule.
  8. Click "Save" to save the changes.